VHOLUME Movement Tech Tier List
Practise the verbs that buy the most time per hour of training.
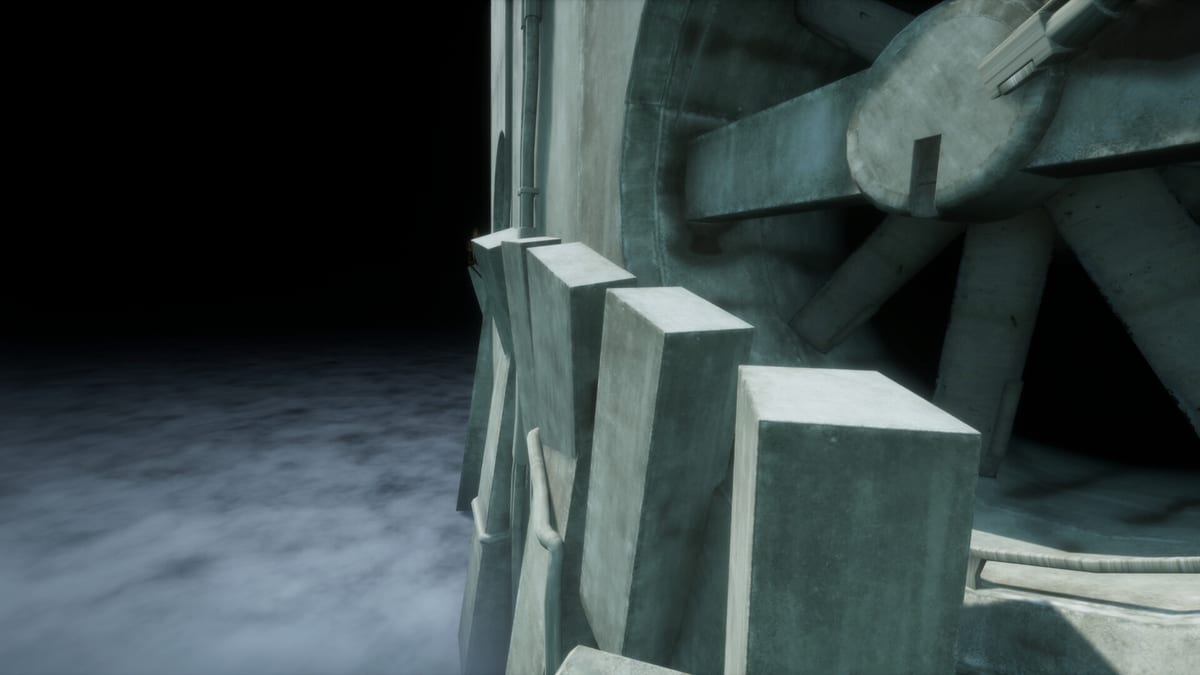
This tier list ranks techniques, not cosmetics. It assumes the demo verbs confirmed publicly: run, jump, climb, slide, and creative chaining through brutalist space. Pair with Movement & Momentum for execution detail.
S-Tier — daily reps
Committed forward movement — never optional.
Slide integration — converts terrain into speed instead of brakes.
Landing into continued run — the invisible skill behind every PB.
Clean climb approaches — saves failed lines and opens vertical skips.
If these four are weak, ignore stylish experiments. Fix binds via Controls first.
A-Tier — high value
Diagonal jumps that preserve line
Wall-adjacent running / extended edge skims
Early look-ahead camera work
Short segment chaining without menu resets
These separate silver from almost-gold. Study them with ghosts in Multiplayer & Ghosts.
B-Tier — situational
Long exploratory climbs for secrets
Boost-pad surfing when available
Stylish detours that barely save time
Fun, sometimes optimal, often inconsistent. Log them under Shortcuts & Secrets.
C-Tier — exhibition
Ultra low-percentage cinematic skips
Tilt-driven full-map restarts after tiny mistakes
Exhibition has a place—just not during checklist grinding on the medal checklist.
Training order
- S-tier on hub circuit (Demo Walkthrough)
- A-tier on your weakest map
- One B-tier experiment per session
- Compare against route difficulty tiers
Related
Techniques are how Robert argues with architecture. Rank them by honesty, not hype.
How to use this tier list in a session
Pick one high-tier technique as the night’s focus. Warm up on the hub ribbon, then isolate the technique on a forgiving sector before importing it into a full medal attempt. Demote a technique if it only works on one map—VHOLUME rewards transferable verbs. After Demo2, re-test each technique on a new map before keeping its rank.
Tier definitions we use on this wiki
- S: transforms most routes once learned
- A: high value on several maps
- B: situational but worth a drill block
- C: style points or niche skips
- Avoid-for-now: flashy ideas that break consistency for new runners
Pair ranks with Movement & Momentum, Controls, and map pages. Tech without map context becomes trivia. When community debates exploit-like wall behaviour, keep it in a personal ruleset rather than assuming every lobby agrees. Launch on 21 August 2026 will add verbs; this list will expand instead of resetting your fundamentals.
Practice order recommendation
Stable slide chains → jump commit timing → climb recovery → experimental skips. Skipping the first two creates brittle almost-WR habits. Track which techniques appear in your ghost notes from Multiplayer & Ghosts. Use Performance Tips so you are ranking technique, not stutter.
Updating ranks honestly
If a Demo2 patch changes feel, adjust the list and date your note. Do not invent patch percentages. Read Steam news via Demo2 News before rewriting tiers from vibes alone.
Example ranking snapshot (personalise freely)
Slide chaining and early jump commits usually sit at the top because they appear everywhere. Climb recoveries sit high for consistency. Purely stylistic wall flourishes sit lower until they save measurable seconds on your maps. Re-write this snapshot after each Demo2 discovery week and keep dates in your notes so ego does not freeze the list.
Frequently Asked Questions
Quick answers to the most common questions.
Why is sliding S-tier?
Because it repeatedly preserves or redirects speed on the terrain types VHOLUME emphasises.
Are wall-runs confirmed?
Movement is freely described as run, jump, climb, and slide with creative chaining; practise edge skims and climbs without inventing unlisted mechanics.
How often should I revisit this list?
After each personal best streak or when a new demo map clicks.
Where do controls fit?
If S-tier fails, fix controls before blaming the tier list.